Launch X431 PAD VII function introduction: Motor Angle Calibration


Launch X431 PAD VII can calibrate the rotation angle sensor of the motor for BMW, MINI, Toyota, Lexus, Honda, Acura.
 

Why it is necessary to calibrate the rotation angle sensor of the motor?

A resolver is a type of rotation angle sensor for controlling the drive motor that is the power source of EVs. By efficiently controlling the motor, power consumption can be suppressed. To control the motor according to various driving conditions of a vehicle, it is necessary to detect the magnetic pole position of the motor and accurately grasp its rotational speed. The resolver serves as a sensor for these tasks.


Launch X431 PAD VII Motor Angle Calibration

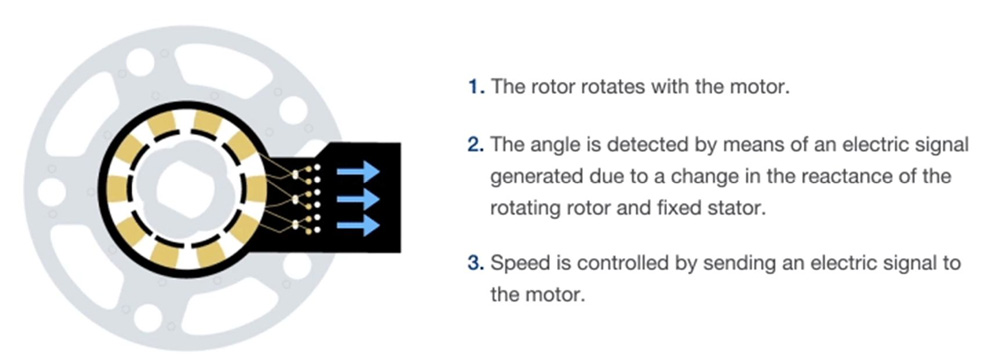
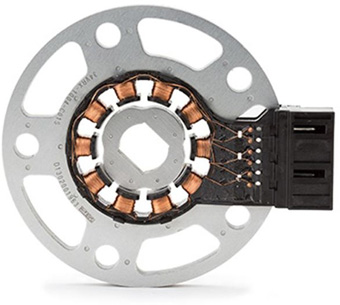
Image 1. Rotation angle sensor (resolver) for EV/HEV electric motor


The speed of the motor that is the heart of the electric vehicle, when the motor is working in a high temperature environment or in a humid, dusty and other environment for a long time, the resolver (rotation angle sensor) is prone to failure. After the failure, the rotation angle sensor signal is faulty, resulting in the motor not working normally, reducing the system reliability, and affecting the normal driving of the vehicle.

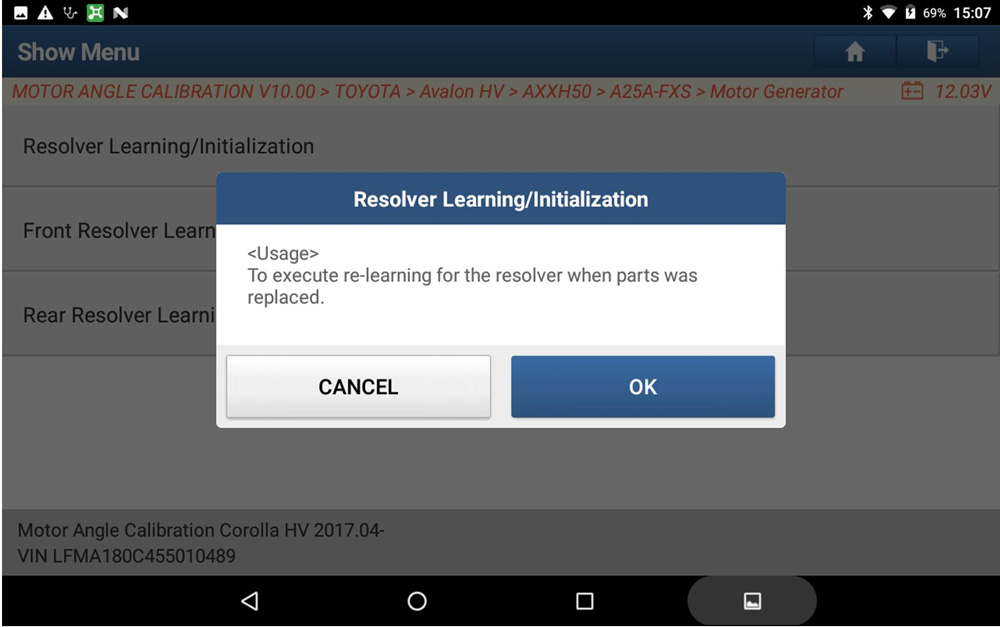
At this time, it is necessary to calibrate the rotation angle sensor of the motor.

Launch X431 PAD VII Motor Angle Calibration


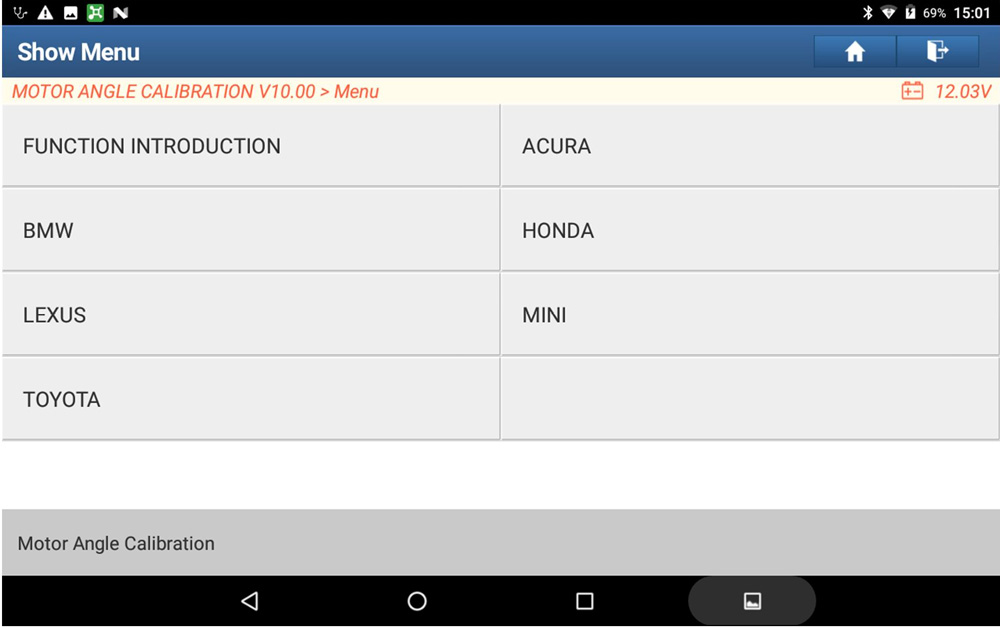
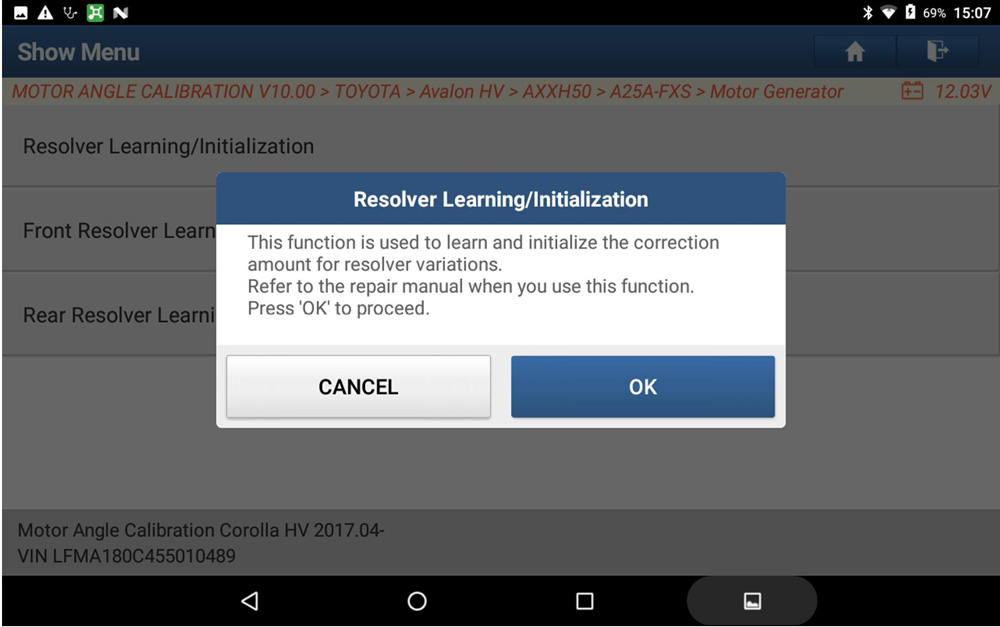
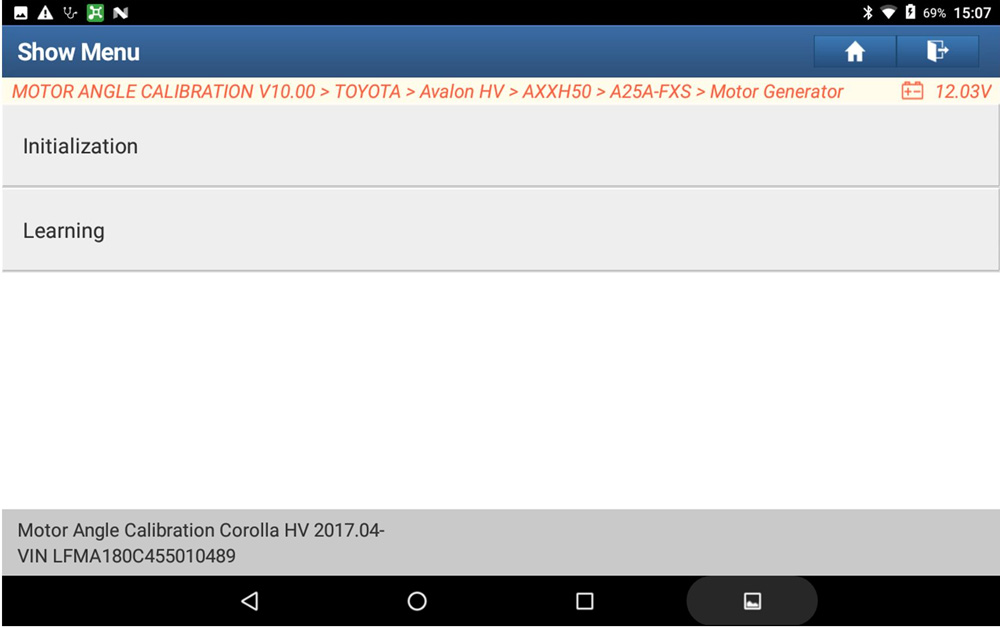
Motor Angle Calibration Guide with Launch X431

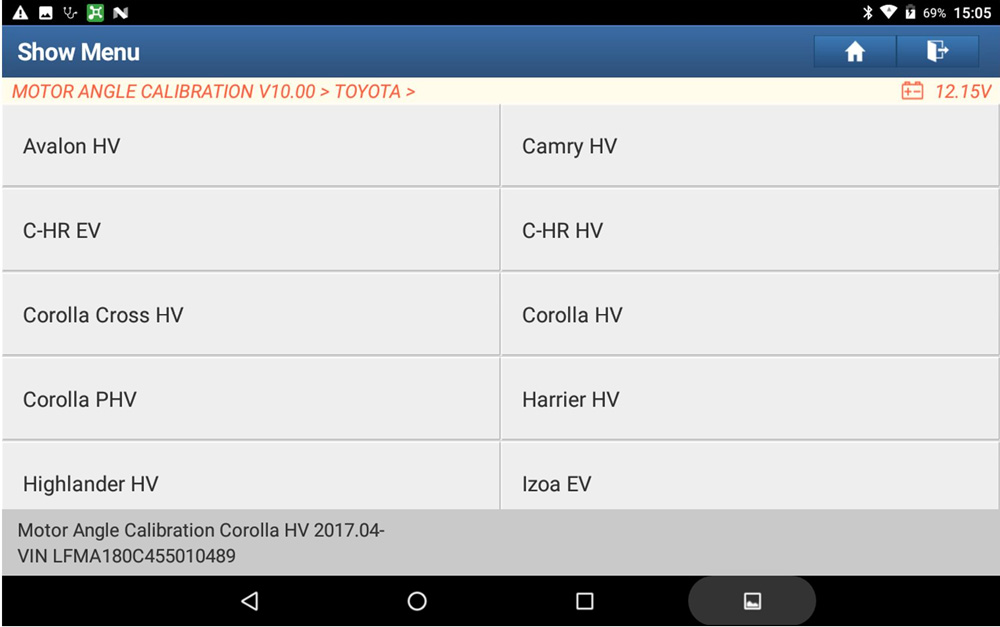
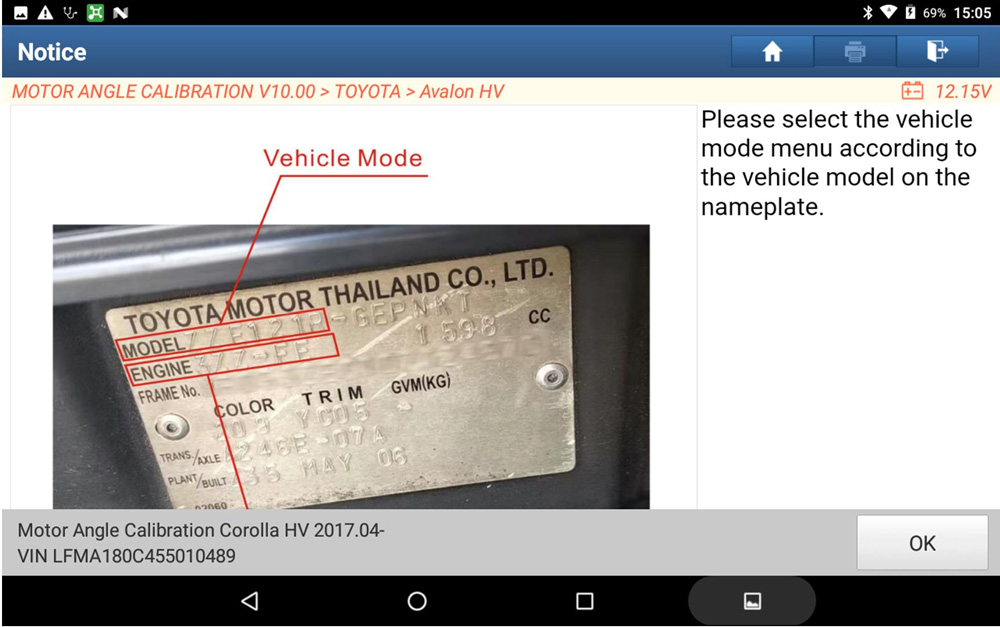
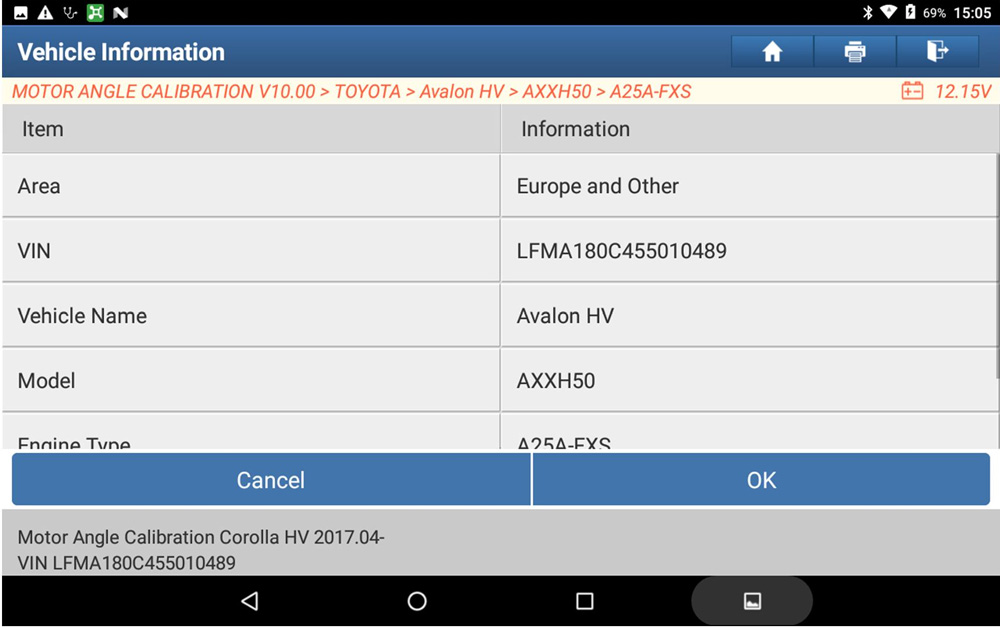
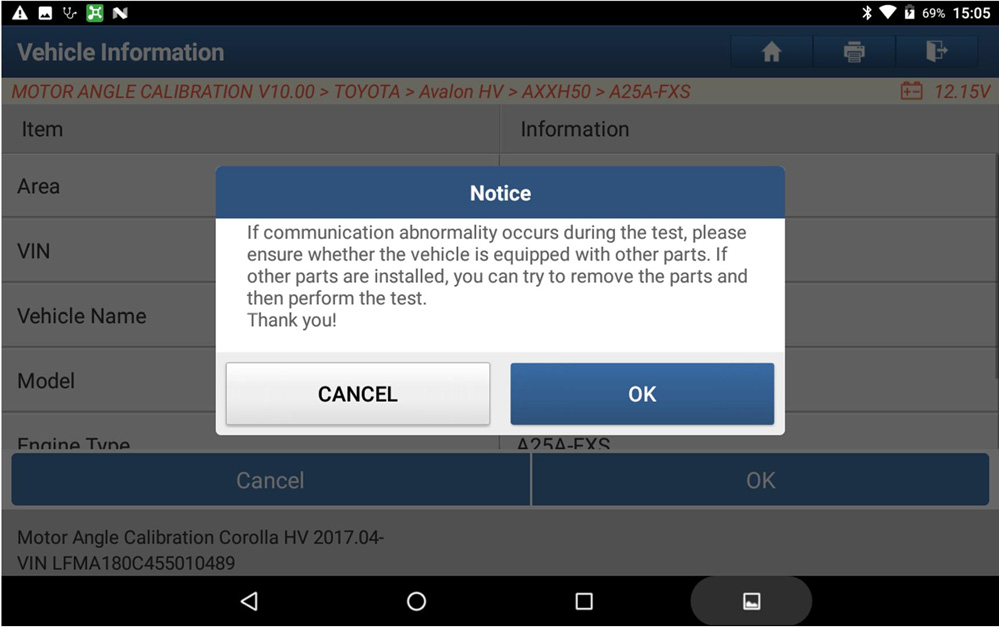
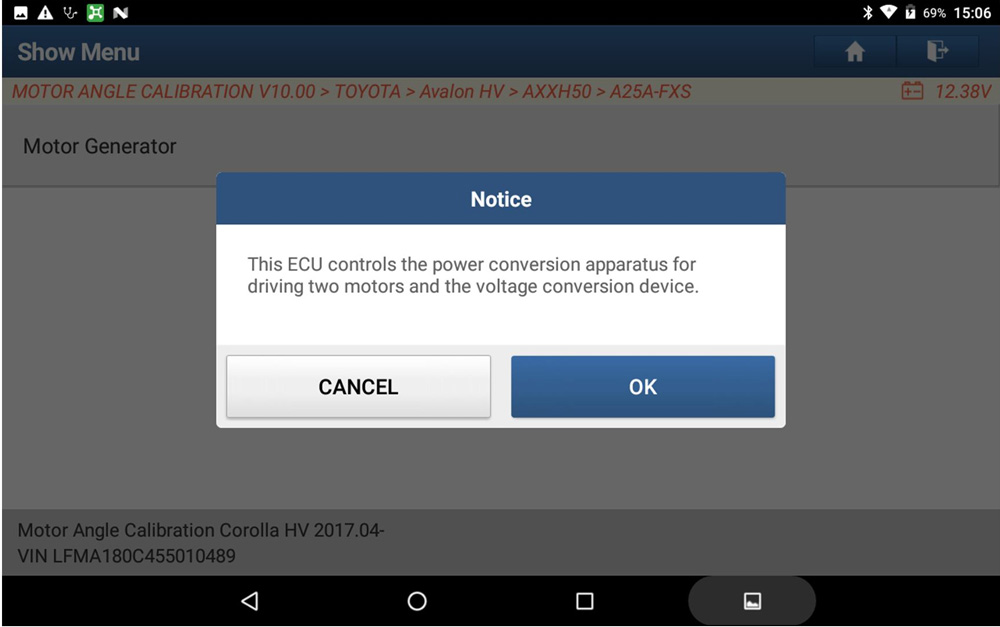
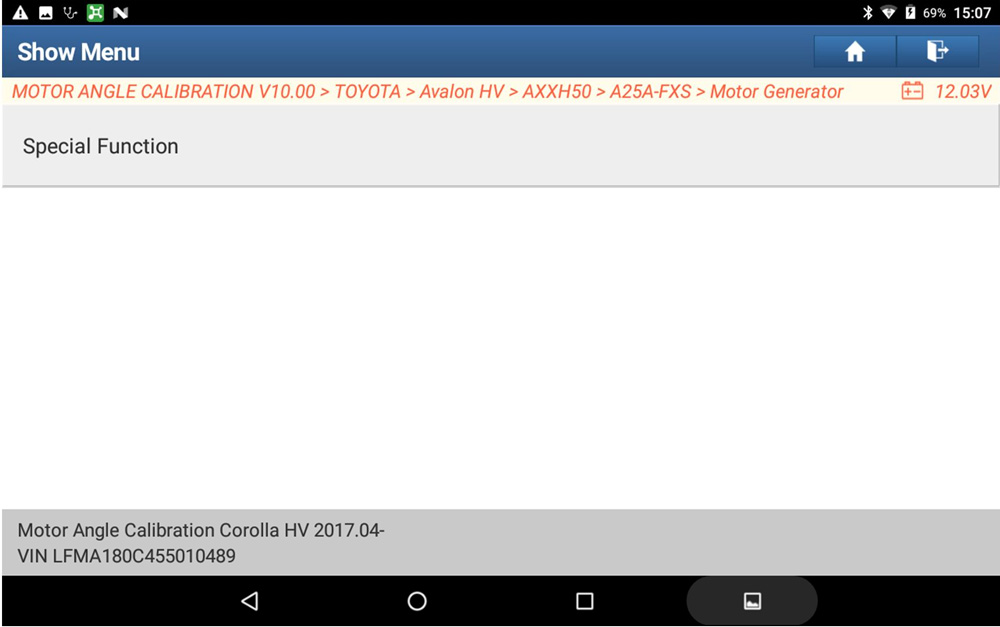
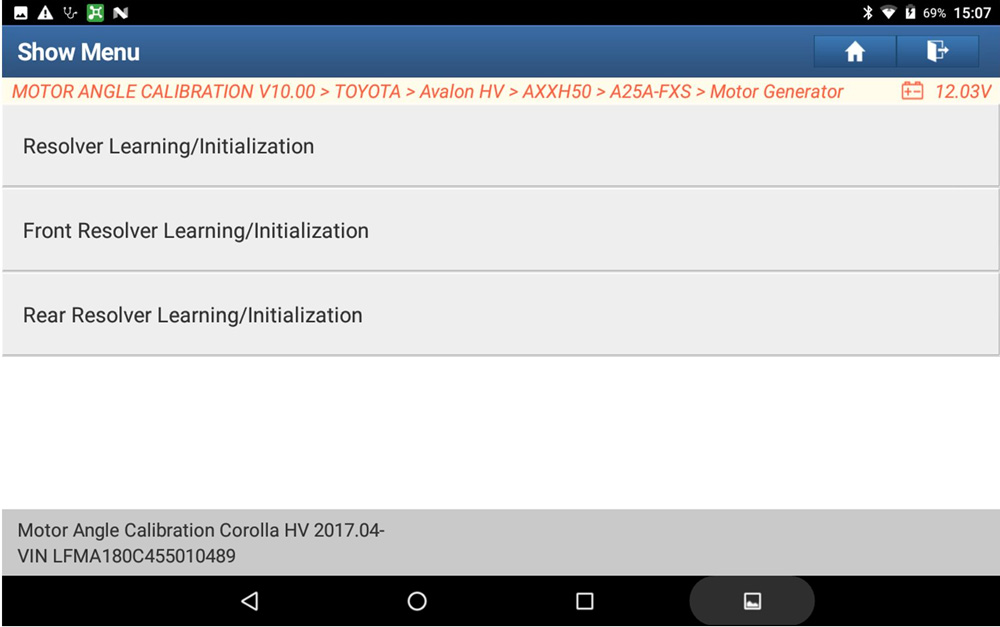
Take Toyota as an example:

  1. Enter Motor Angle Calibration V10.00, Click “TOYOTA”.

Launch X431 PAD VII Motor Angle Calibration

  1. Click "Avalon HV".

Launch X431 PAD VII Motor Angle Calibration

  1. Note "select the vehicle mode menu according to the vehicle model on the nameplate", and click "OK" to continue.

Launch X431 PAD VII Motor Angle Calibration

  1. Click "AXXH50".

Launch X431 PAD VII Motor Angle Calibration

  1. Click "A25A-FXS".

Launch X431 PAD VII Motor Angle Calibration

  1. Confirm the info and click "OK".

Launch X431 PAD VII Motor Angle Calibration

  1. If communication abnormality occurs during the test, please ensure whether the vehicle is equipped with other parts. If other parts are installed, you can try to remove the parts and then perform the test. Click "OK" to continue.

Launch X431 PAD VII Motor Angle Calibration

  1. Click "Motor generator".

Launch X431 PAD VII Motor Angle Calibration

  1. Notice "this ECU controls the power conversion apparatus for driving two motors and the voltage conversion device", click "OK" to continue.

Launch X431 PAD VII Motor Angle Calibration

  1. Click "Special Function".

Launch X431 PAD VII Motor Angle Calibration

  1. Select the resolver you want to relearn or initialization; here we select "Resolver Learning/Initialization".

Launch X431 PAD VII Motor Angle Calibration

Launch X431 PAD VII Motor Angle Calibration

  1. This function is used to learn and initialize the correction amount for resolver variations. Refer to the repair manual when you use this function. Press "OK" to proceed.

Launch X431 PAD VII Motor Angle Calibration

  1. Select "Initialization".

Launch X431 PAD VII Motor Angle Calibration

  1. The initialization is ready, turn the IG off; after the IG is OFF, follow the instructions in the repair manual.

Launch X431 PAD VII Motor Angle Calibration

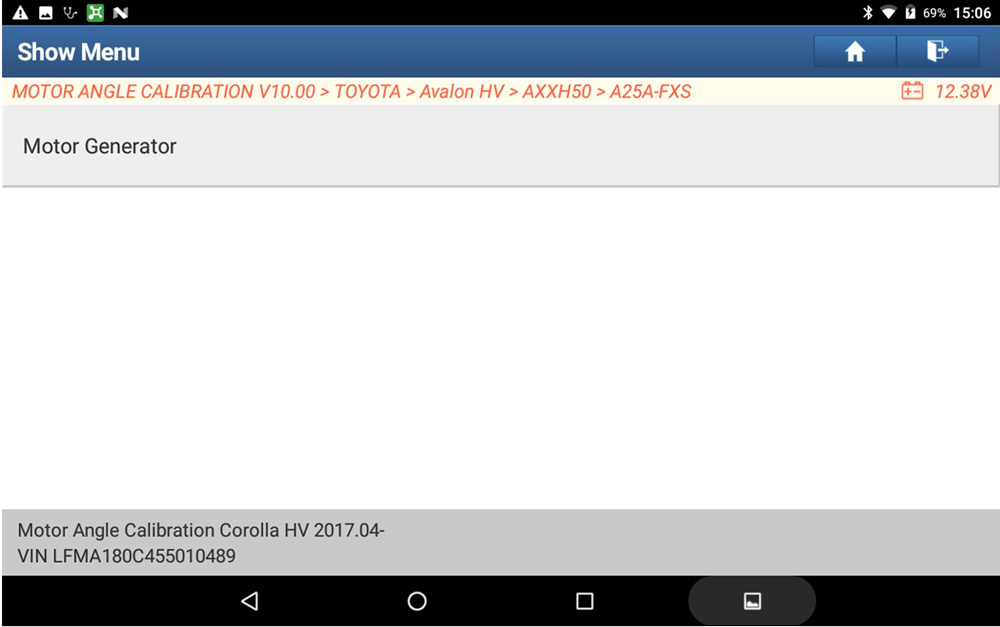
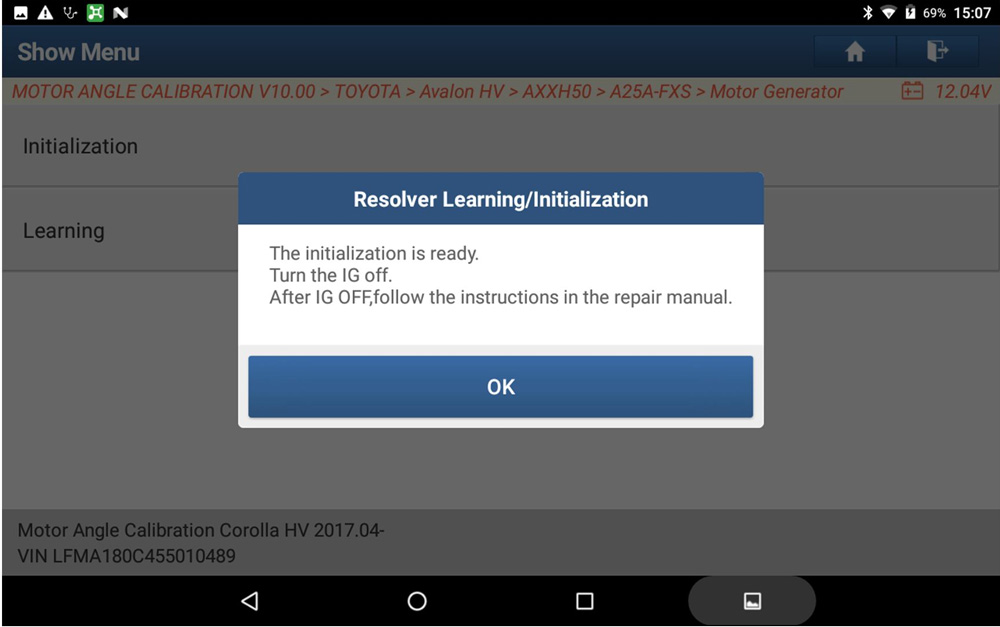
That's all, this is how to use any of Launch X431 PAD VII, European Euro Tab III, MM4.0 to do Motor Angle Calibration.