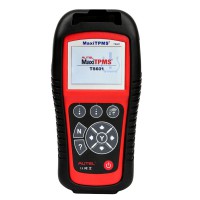
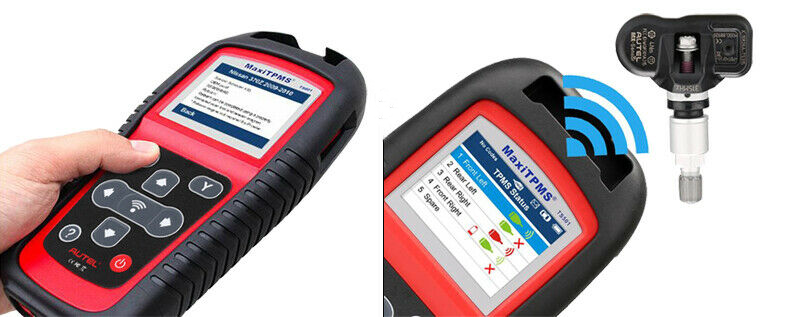
Autel MaxiTPMS TS501 is capable of wirelessly diagnosing TPMS problems as well as activate any known OEM / Universal TPMS sensors, ID clone or reprogram sensors to the vehicle's ECU, and turn off warning lights.

Autel MaxiTPMS TS501 is specially developed to activate any known OEM / Universal TPMS sensor, and reprogram the vehicle's ECU. This will in turn put off the warning symbol on the dash. This self powered ergonomic tool allows you quick and easy access to the faulty TPMS sensors fitted to the vehicle. This also in turn leads to customer satisfaction and increase in your profit. Tyre shops always run the risk of sensor damage during tire changes and being able to solve this problem by replacing the damaged or defective TPMS while the customer waits.
Notes:
1. Free Update Online on Autel Official Website
2. No Sensor Contain In the Package of TS501. Autel MX-Sensors Need to Be Bought Separately
3. Easy-to-Use with Intuitive Navigation and Step-by-Step On-Screen
4. Read/ Clear Codes of TPM System and Resets Malfunction Indicator Light
5. Can Only Support Autel MX-Sensors. Other brands' sensors can not be supported
Top 3 User-Friendly Features:
1. TS501 At-A-Glance TPMS Status Screen
The single screen organization allows you to easily read direct feedback from all 4 sensors, clearly understand the status of all TPMS features,compare sensor and ECU data,then instantly pinpoint system faults to identify the fix.This At-A-Glance view of all sensor information easily shows the location of which sensor battery is low and needs to be replaced soon.
2. OBDII Connected TPMS Diagnostics
The TS501 can provide relearn procedures for specific sensors and connect with the OBDII cord to the vehicle's ECU to offer multiple programming options including clone sensor IDs, or auto create ID, or manual write sensor IDs with no sensor re-learn required for sensor positioning.
3. TS501 Easy To Use Software Operation
Performing a basic sensor activation or complex diagnostic tool functions, is easy as following the program options and on-screen display instructions. The TS501 provides code definitions and visual / audio responses to make the operations much easier and more convenient to complete. Download FREE software updates for enhanced diagnostic functions and extended vehicle coverage. Now even your old TPMS tool can perform like new!
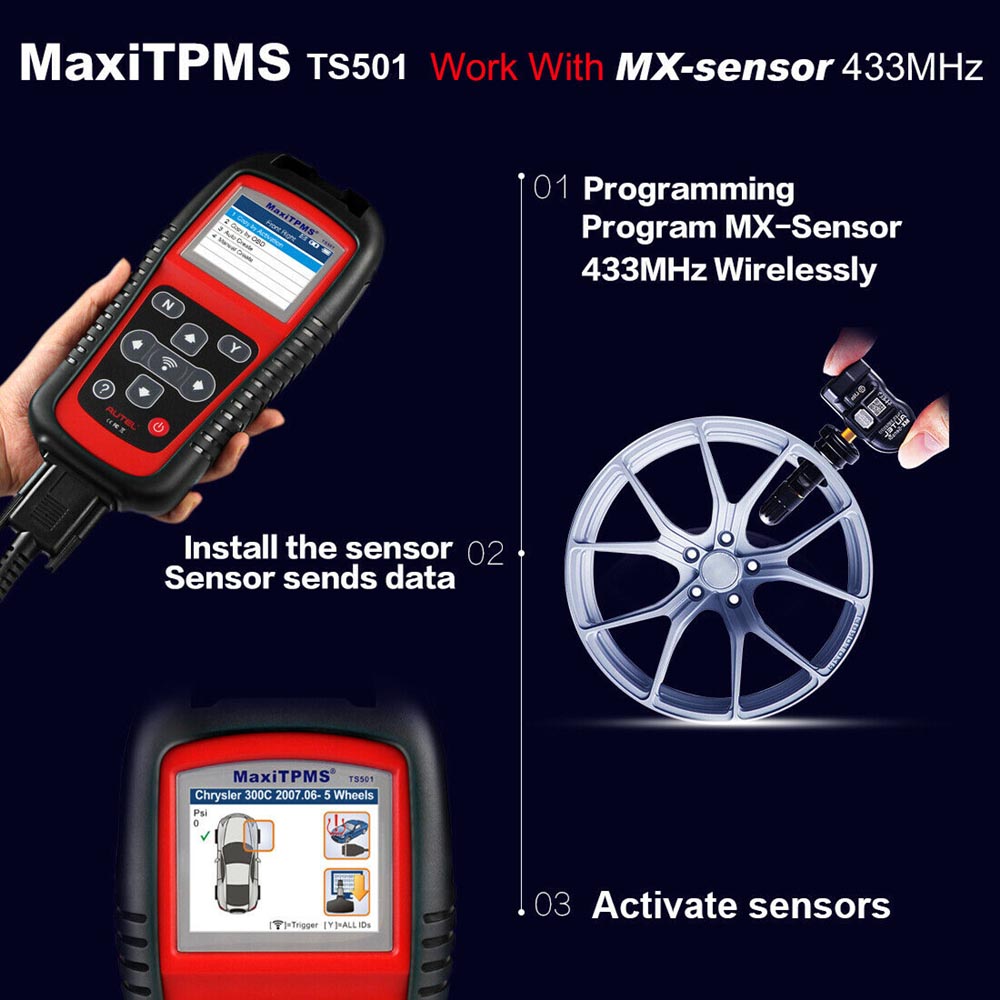 Autel MaxiTPMS TS501 Feature
1. Activates ALL magnetic, frequency and tire deflation triggered sensors using 125KHz continuous or modulated wave signals
2. Receives both 315MHz and 433MHz signals
3. Reads data including sensor ID, tire pressure, temperature, battery condition, OE part number, relearn information
4. Reads / writes sensor ID from vehicle ECU
5. Reads / clears codes of TPMS system and reset malfunction indicator light
6. Checks Remote Keyless Entry (Key FOB) for transmissions
7. Graphs vehicle with 4 or 5 wheels to simplify the diagnostic process
8. Pre-selection process offers faster activation and diagnostics
9. Programs vehicle ECU to learn sensor IDs and positions
10. Provides visual and audible responses to confirm sensors are working properly
11. On-screen code definitions
12. Displays Sensor ID and Battery Level and Tire Pressure and Temperature;
13. Activate TPMS sensors on Domestic, Asian and European vehicles;
14. Programs / Clones Autel MX-Sensors to replace OEM sensors;
15. Proper LF signal to prevent being fooled by other RF signals
16. Incredibly easy to use with intuitive navigation and step-by-step on-screen instructions
17. Built-in rechargeable Li-polymer battery
18. Automatic power-off to preserve battery life
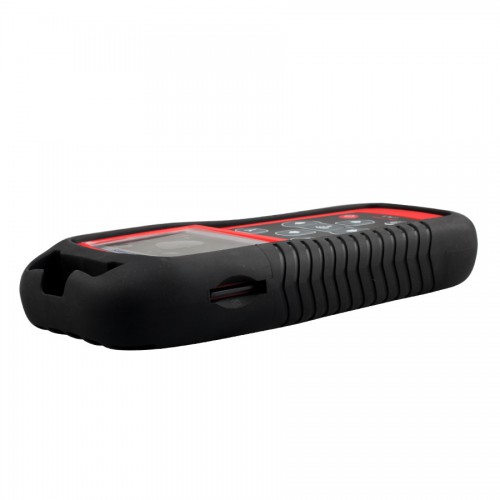
19. Ergonomic design features strong housing and protective rubber boot
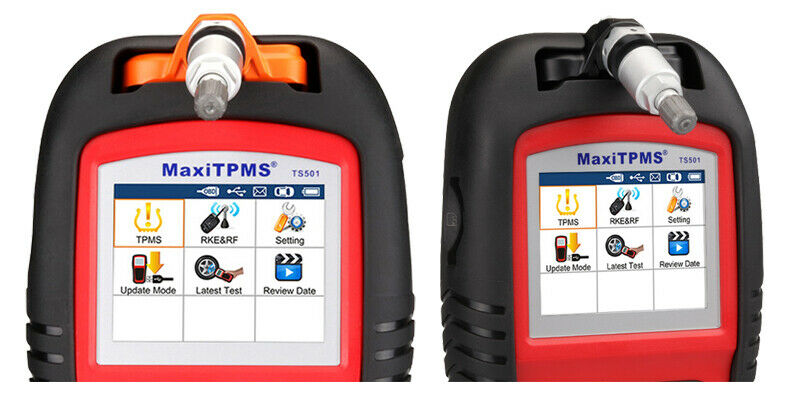
 Autel TS501 Instruction:
Prints TPMS sensor data via PC
Automatic power-off to preserve battery life
Proper LF signal to prevent being fooled by other RF signals
Saves up to 16 TPMS records
If a failed sensor is detected, the tool displays the replacement part number
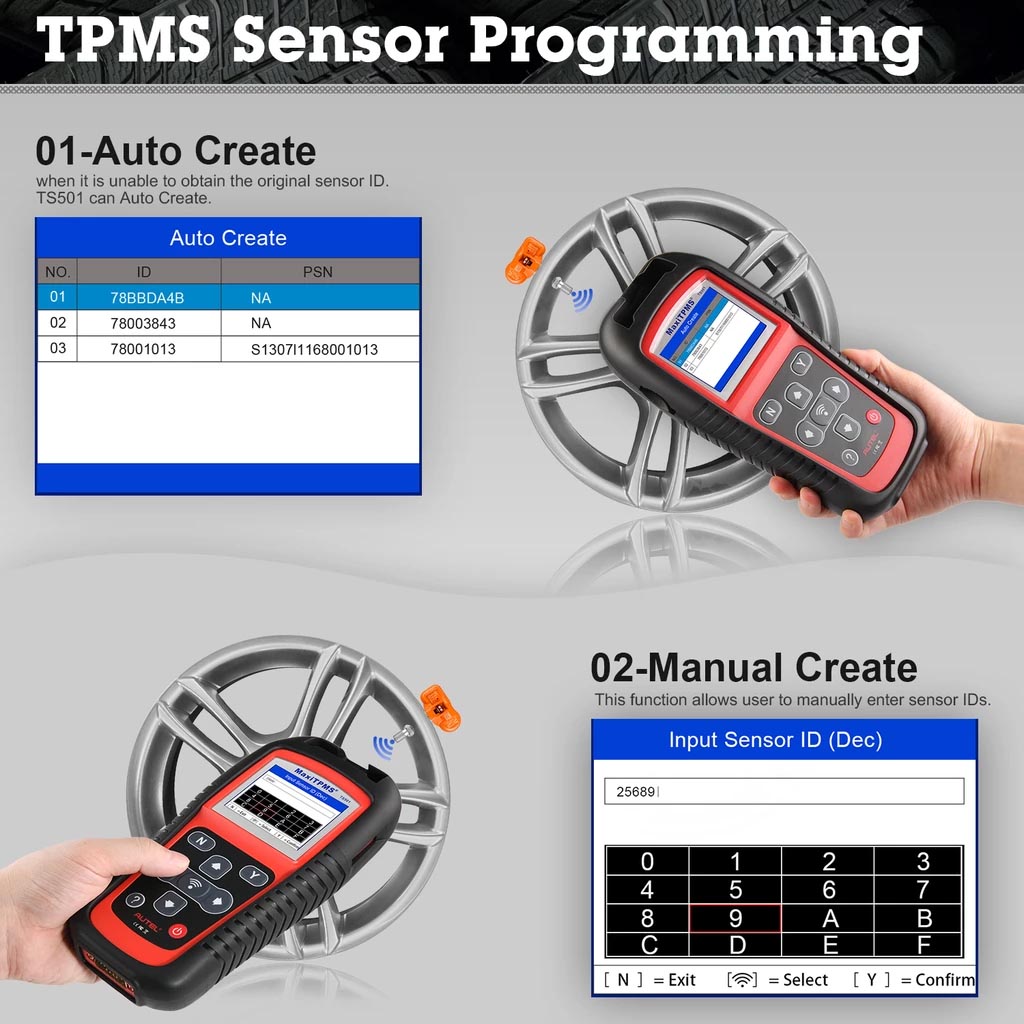
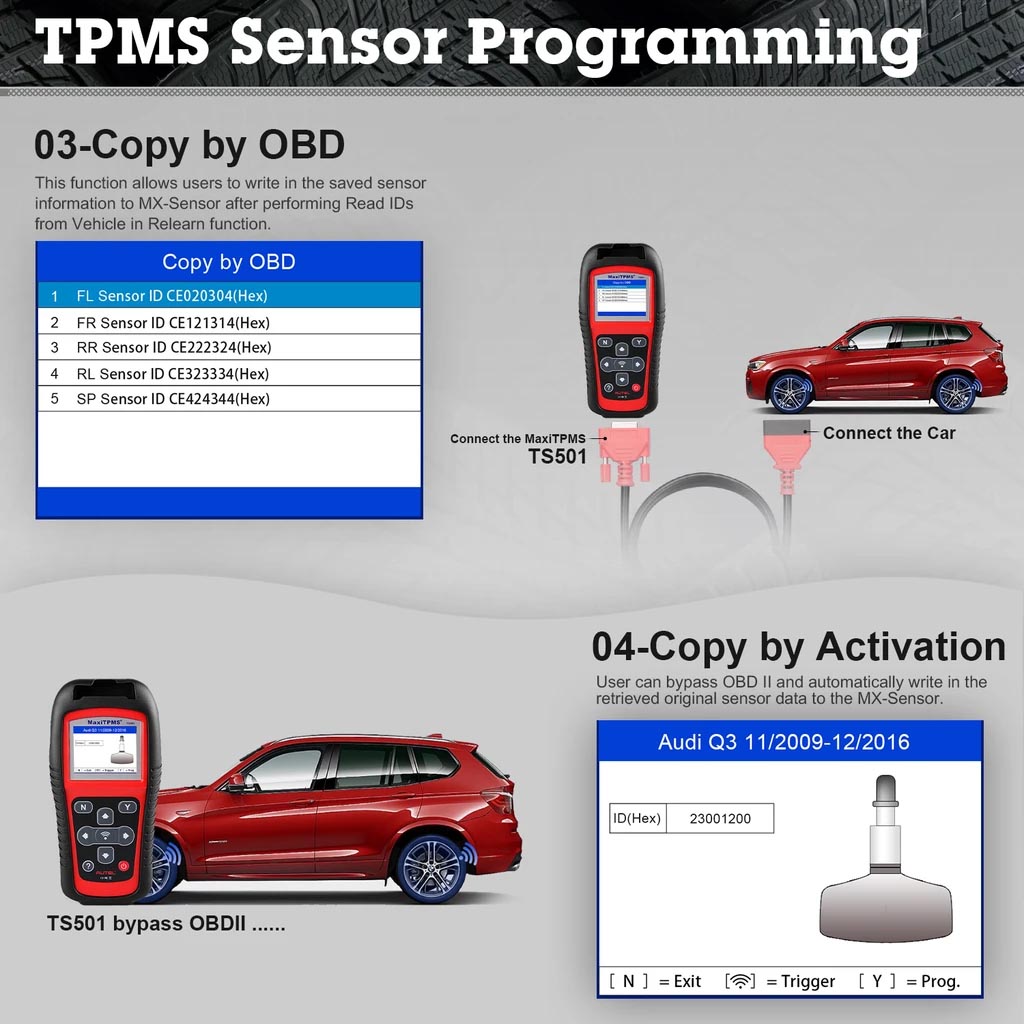 Autel TS501 Sensor Programming:
Auto Creat
Manual Creat
Copy by OBD
Copy by Activation
TS501 Information Excerpts:
1. Battery Charging
The TPMS tool has a 3.7V built-in lithium-ion polymer rechargeable battery. There are two means of battery charging:
* To charge battery by power adapter.
1) Locate the power port of the device.
2) Connect the device and the power source with the adapter.
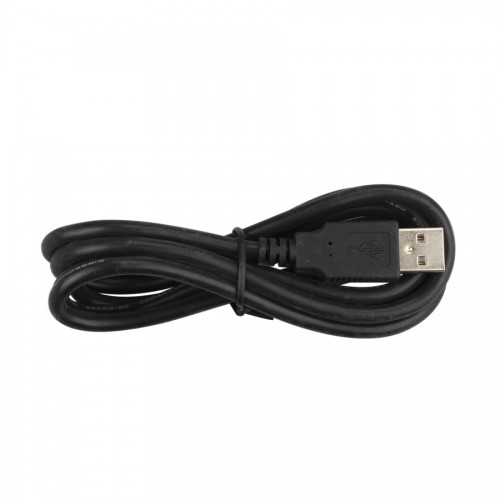
* To charge battery by USB cable
1) Locate the USB port of the device.
2) Connect the device and the computer with the USB cable.
For optimum performance, always keep your tool sufficiently charged. It is recommended that you charge the tool for over 2 hours before the first use.
NOTE: Only use the power adapter or USB cable that is included in our pack to charge this tool. The use of unapproved power supplies may damage your tool and void the tool warranty.
2. Power Up by DLC
The tool can also be powered via the vehicle Data Link Connector (DLC). Just follow the steps below to turn on the TPMS tool:
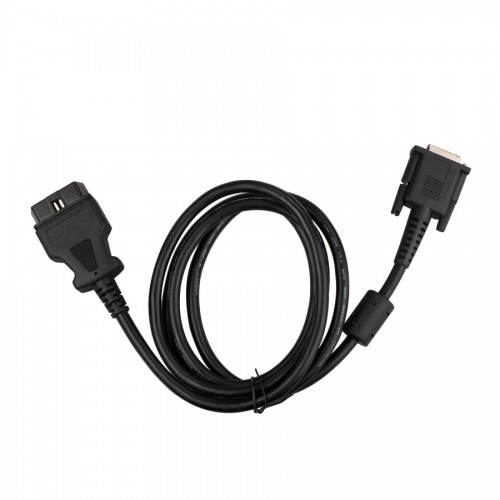
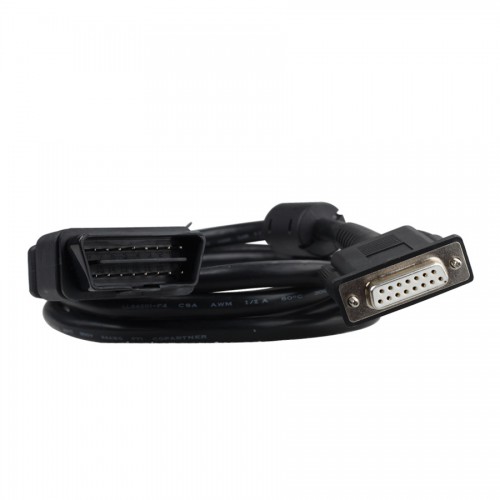
1) Connect the OBDII Cable to the TPMS tool.
2) Find DLC on vehicle.
A plastic DLC cover may be found for some vehicles and you need to remove it before plugging the OBDII cable.
3) Plug OBDII cable to the vehicle's DLC.
4) Power up the TPMS tool by pressing the Power Button, and wait for the Main Menu to appear.
NOTE: OBDII connection does not support battery charging.
Autel MaxiTPMS Series Comparison
| Comparison |
TS608 |
MS906 TS |
TS601 |
TS508 |
TS501 |
TS408 |
TS401 |
TPMS PAD |
| TPMS function |
|
|
|
|
|
|
|
|
| Quick Mode & Advance Mode |
|
|
|
√ |
|
|
|
|
| Activate TPMS sensors |
√ |
√ |
√ |
√ |
√ |
√ |
√ |
√ |
| Read sensor data |
√ |
√ |
√ |
√ |
√ |
√ |
√ |
√ |
| TPMS diagnose, one step for complete TPMS health check |
√ |
√ |
√ |
√ |
√ |
|
|
|
| Read/clear TPMS DTCs; on-screen DTC description |
√ |
√ |
√ |
√ |
√ |
|
|
|
| Scan TPMS sensor ID and copy ID into MX-Sensor |
√ |
√ |
√ |
√ |
√ |
√ |
√ |
√ |
| Manual input OE ID into MX-sensor |
√ |
√ |
√ |
√ |
√ |
√ |
√ |
√ |
| Program MX-Sensor by auto creating sensor ID |
√ |
√ |
√ |
√ |
√ |
√ |
√ |
√ |
| Read Sensor ID by OBD and copy ID into MX-Sensor |
√ |
√ |
√ |
√ |
√ |
|
|
|
| Relearn by OBD function |
√ |
√ |
√ |
√ |
√ |
|
|
|
| Relearn procedure guide on the tool |
√ |
√ |
√ |
√ |
√ |
√ |
√ |
|
| Check Key FOB |
√ |
|
√ |
√ |
√ |
√ |
√ |
|
| Read TPMS live data |
√ |
√ |
√ |
|
|
|
|
|
| Tire Type/Pressure selection |
√ |
√ |
√ |
√ |
|
|
|
|
| Other TPMS special functions |
√ |
√ |
√ |
|
|
|
|
|
| TPMS Toolkit (other function) |
√ |
|
|
|
|
|
|
|
| Diagnostic function |
|
|
|
|
|
|
|
|
| Basic OBDII code reader |
√ |
√ |
√ |
|
|
|
|
|
| Read/clear codes for all electronic systems |
√ |
√ |
|
|
|
|
|
|
| Support all 10 test modes of the latest J1979 OBDII test specs |
√ |
√ |
√ |
|
|
|
|
|
| Enhanced OBDII Mode 6 |
√ |
√ |
√ |
|
|
|
|
|
| Display live data in text, graph & analog for easy data review |
√ |
√ |
|
|
|
|
|
|
| Relearn parking brake pad after replacement; |
√ |
√ |
|
|
|
|
|
|
| Reset Steering Angle Sensor (SAS); |
√ |
√ |
|
|
|
|
|
|
| Reset service mileage and service intervals; |
√ |
√ |
|
|
|
|
|
|
| Forced regeneration and adjusting injectors; |
√ |
√ |
|
|
|
|
|
|
| Support battery registration and reset |
√ |
√ |
|
|
|
|
|
|
| Support IMMO functions |
√ |
√ |
|
|
|
|
|
|
| Complete diagnostic function |
|
√ |
|
|
|
|
|
|
| Tool features |
|
|
|
|
|
|
|
|
| Built-in rechargeable li-ion battery |
√ |
√ |
√ |
√ |
√ |
√ |
√ |
|
| Strong housing with protective rubber boot |
√ |
√ |
√ |
√ |
√ |
√ |
√ |
|
| Print TPMS sensor data via PC |
√ |
√ |
√ |
√ |
√ |
√ |
√ |
√ |
| Internet updatable |
WIFI |
WIFI |
SD card |
USB |
SD card |
USB |
USB |
USB |
| Multilingual support |
√ |
√ |
√ |
√ |
√ |
√ |
√ |
√ |
| Historical test records |
√ |
√ |
√ |
√ |
√ |
√ |
√ |
|
| Software Update |
1 year free |
1 year free |
free |
free |
free |
free |
free |
free |
Product Display:
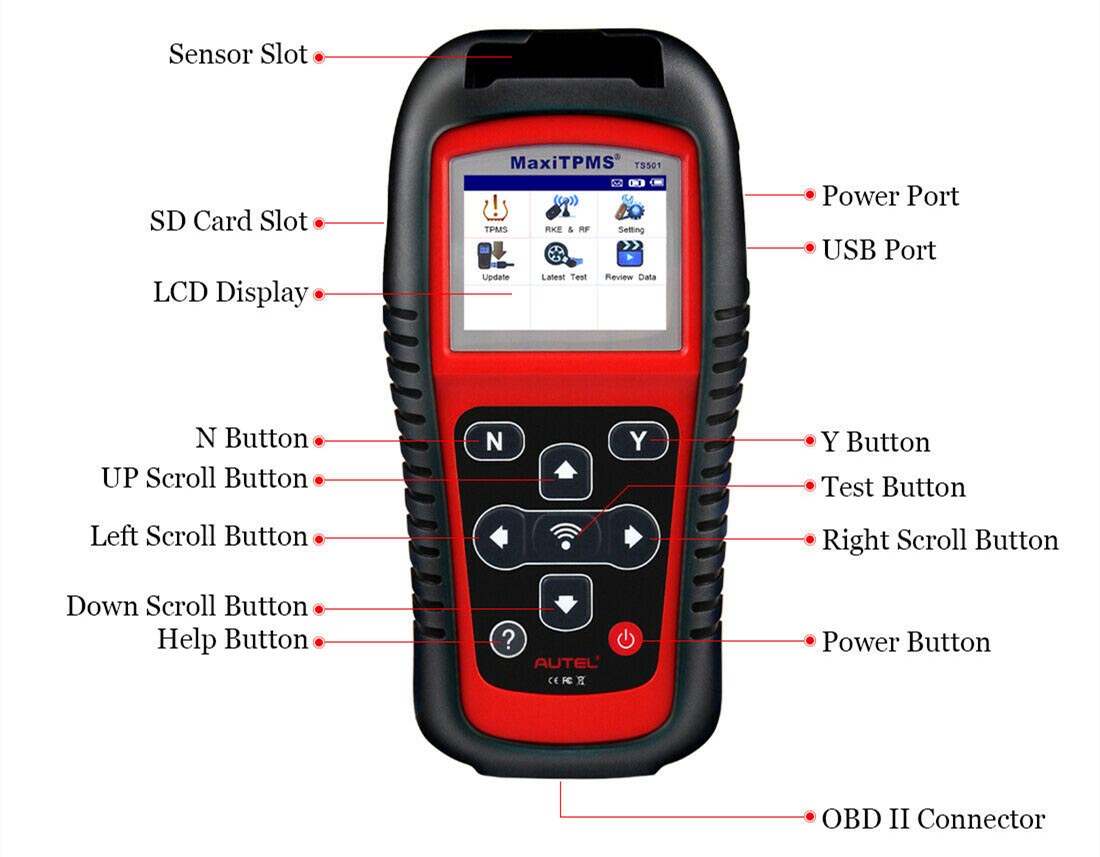
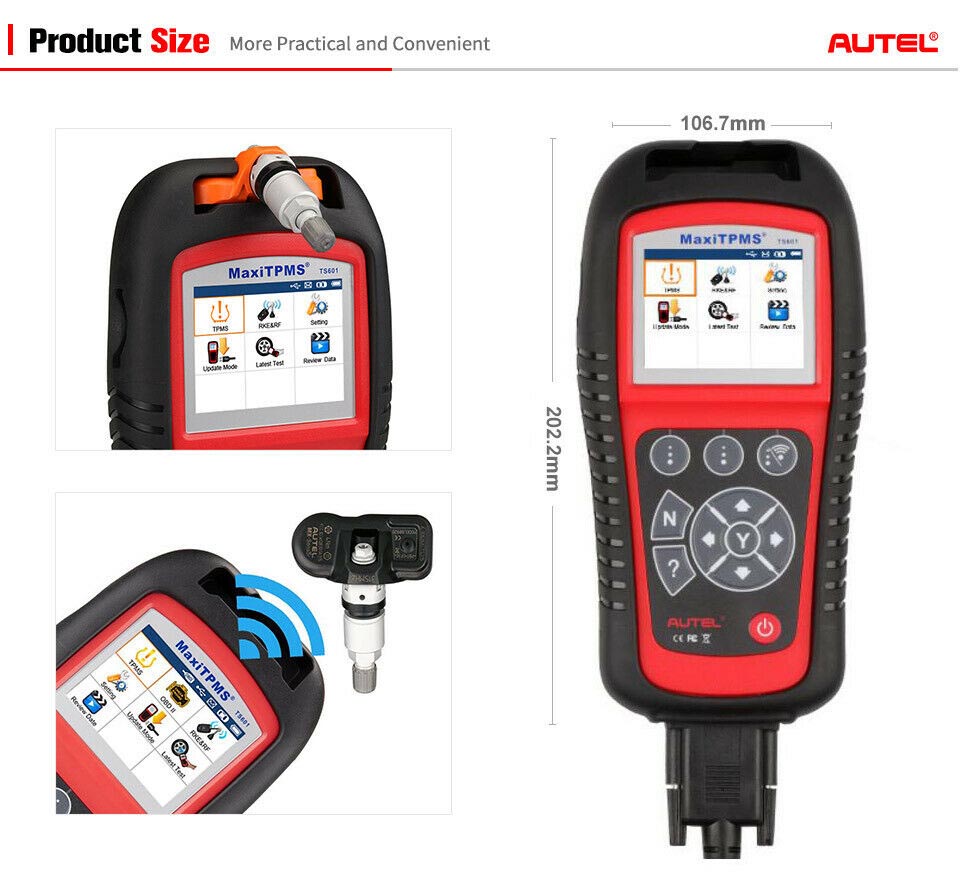
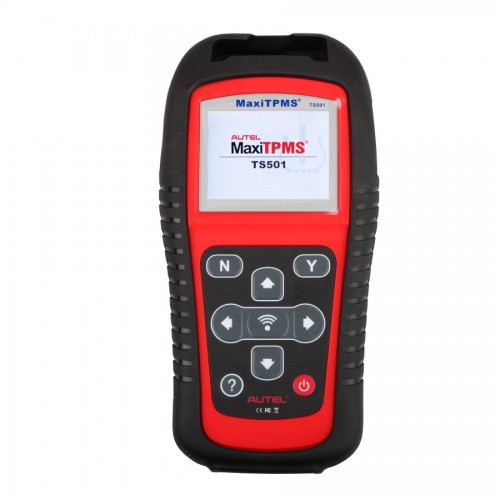
1) SIGNAL MARK – Indicates where the tool sends or receives signals.
2) LCD DISPLAY – Displays the menus and test screens.
3) N BUTTON – Cancels a selection (or action) from a menu or return to previous menu.
4) UP SCROLL BUTTON – Moves up through menu and submenu items in menu mode. When more than one set of data are retrieved, use this button to move up to previous screens for additional data. It is also used to view previous trouble code when viewing DTCs.
5) LEFT SCROLL BUTTON –When scrolling through a screen of data or text, moves to previous character and views additional information on previous screens, if recorded data content covers more than one screen.
6) HELP BUTTON – Provides help information.
7) POWER BUTTON – Long press the button to turn on/off the tool; short press the button to return to Home screen.
8) DOWN SCROLL BUTTON – Moves down through menu and submenu items in menu mode. When more than one set of data are retrieved, use this button to move down to next screens for additional data. It is also used to view next trouble code when viewing DTCs.
9) RIGHT SCROLL BUTTON – When scrolling through a screen of data or text, moves to next character and view additional information on next screens, if recorded data content covers more than one screen.
10) TEST BUTTON – Commences a TPMS Test.
11) Y BUTTON – Confirms a selection (or action) from a menu.
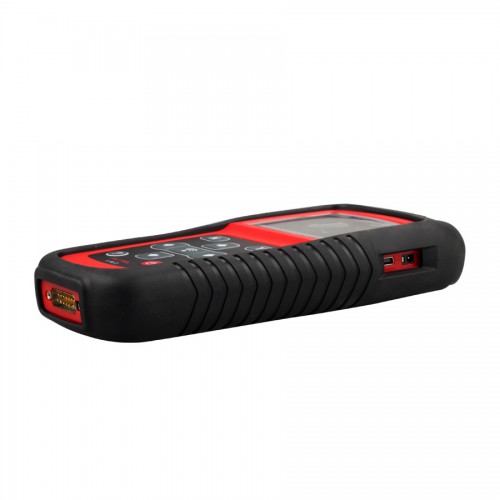
12) USB PORT – Connects the TPMS tool to PC for software update, data printing or battery charging.
13) POWER PORT – Connects the TPMS tool to the mains with the charger supplied for battery charging.
14) SD CARD SLOT – Holds SD card.
15) OBD II CONNECTOR – Connects the TPMS tool to the vehicle’s Data Link Connector (DLC)
 Specification:
Display: TFT color display (320 x 240 dpi)
Power: 3.7V Li-polymer battery
Operating Temperature: 0 to 50°C (32 to 122 °F)
Storage Temperature: -20 to 70°C (-4 to 158 °F)
Package List:
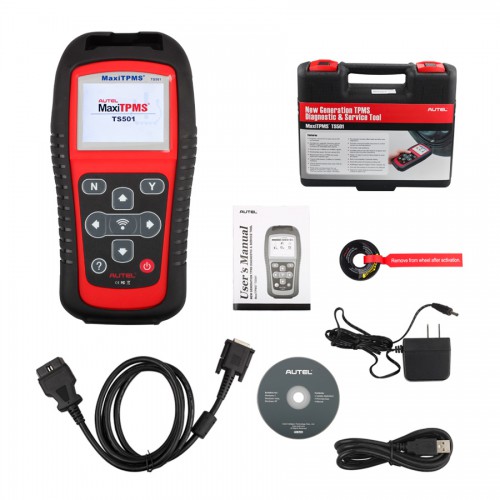
1pc x TPMS TS501 main unit
1pc x USB Cable
1pc x SD CARD
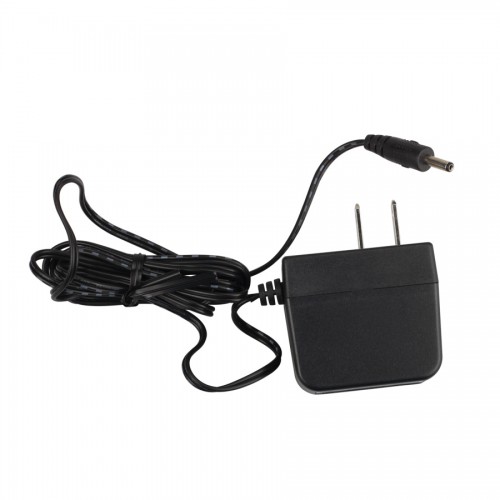
1pc x Charger
1pc x OBDII Cable






![[EU/UK Ship] Autel MaxiCheck Pro EPB/ ABS/ SRS/ SAS/ BMS/ DPF Special Application Diagnostics Lifetime Free Update Online](/upload/pro-sm/23121717028824685903.jpg)
